IOI Photos have been posted
Posted first Newsletter
IOI Program
Schedule updated including information about new Evening Lectures.
Rules, competition environment and sample tasks added to site.
Registration activated and many ioi2010.org web updates.
This series of screen shots walks you through using RunC as installed in the IOI 2010 Competition Environment.
Part 1: An Interactive C Program
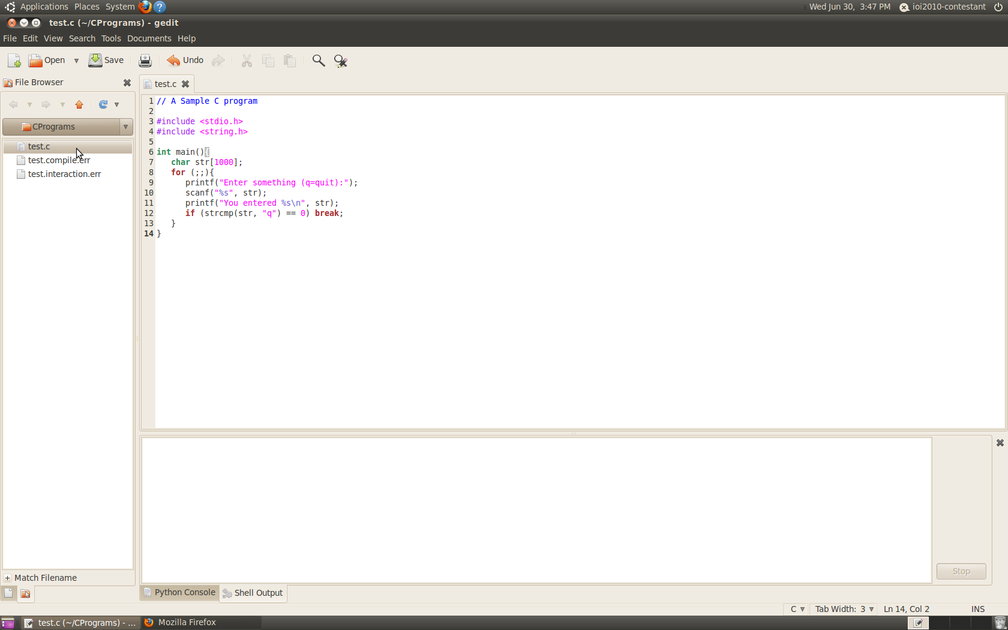
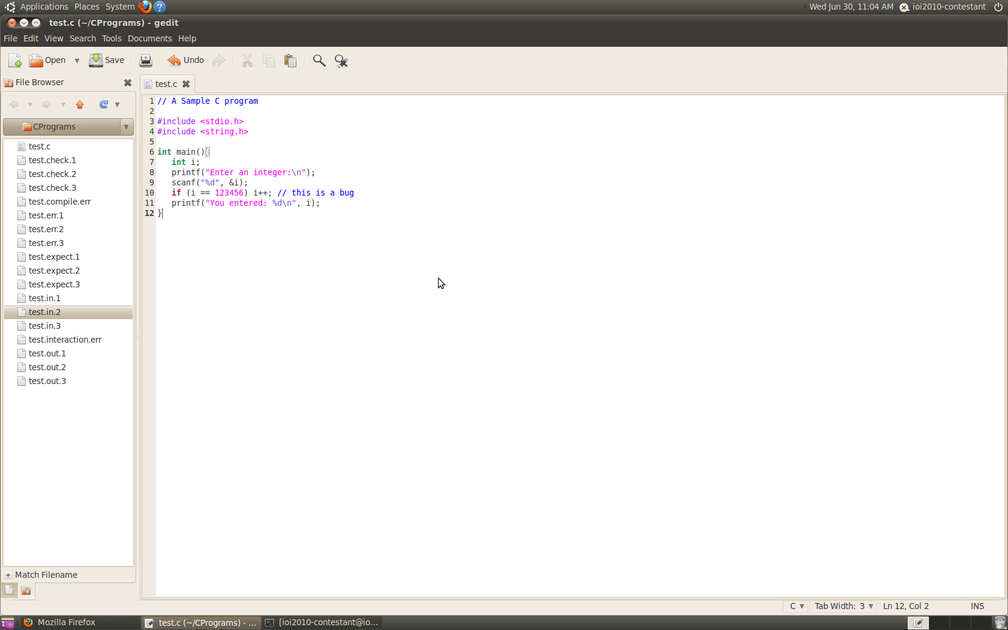
Here's the desktop as you see it immediately after logging in to the pre-configured contestant account. Click on the icon of gedit.
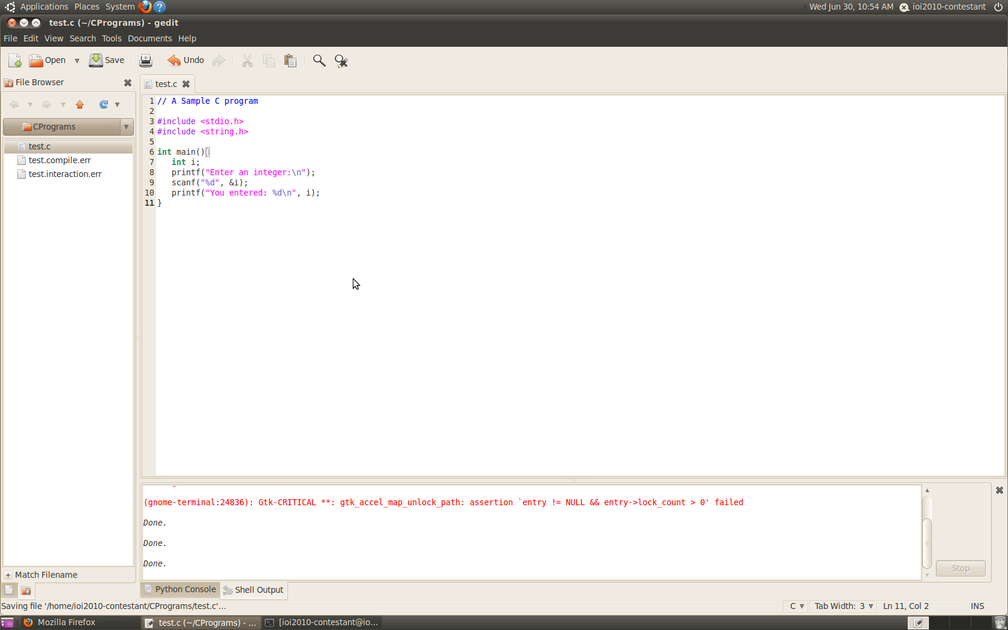
This is gedit. You can use the "file browser" on the left to navigate, create folders and files, and rename files. You can also edit a file by double clicking on it. Here, we have navigated to a folder called "CPrograms" and double clicked "test.c".
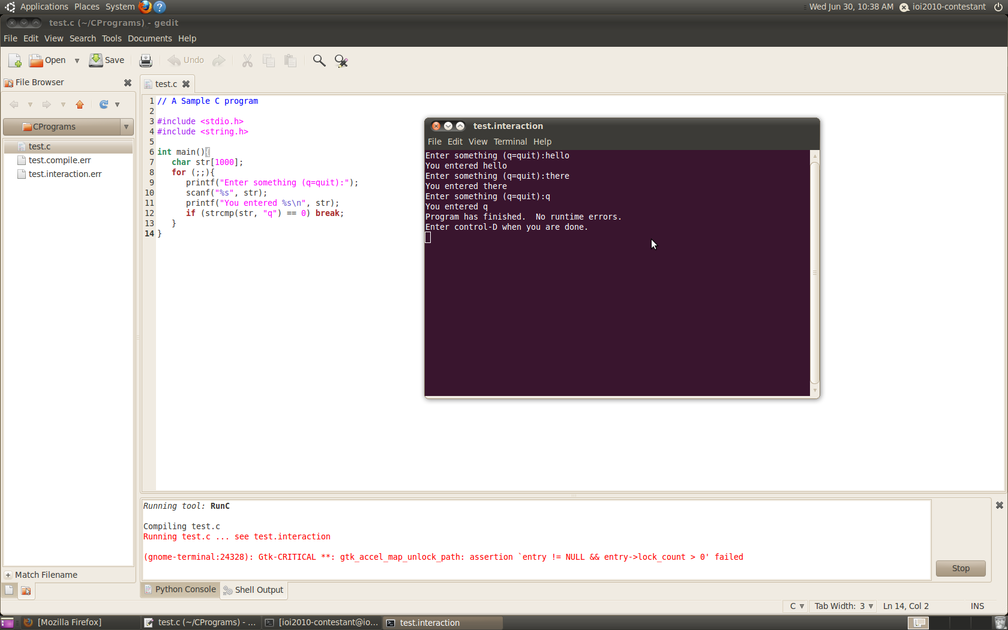
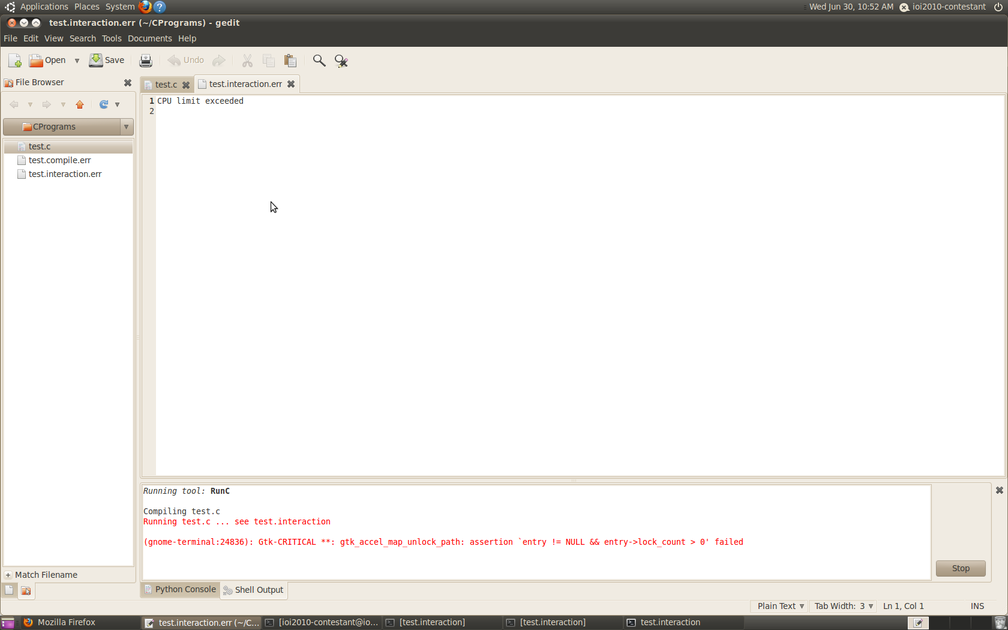
Hit "Control-R" (that is, hold the control key while pressing the r key) and RunC will automatically compile your program and pop up an interaction window, as shown below.
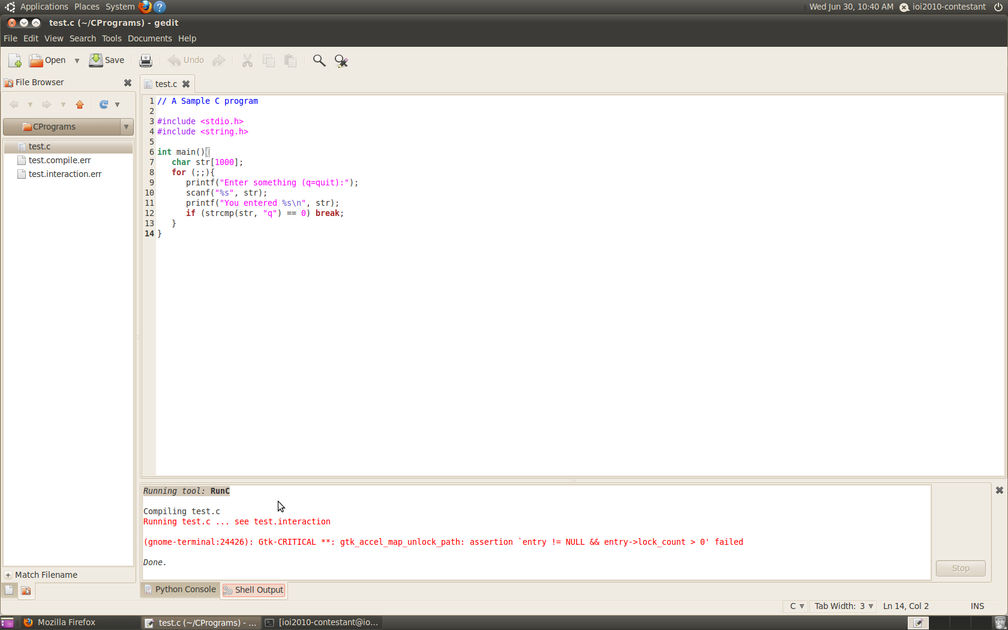
You will see a panel at the bottom with summary messages regarding the status of your program. The screenshot below shows the panel after you close the interaction window, assuming the program did not crash.
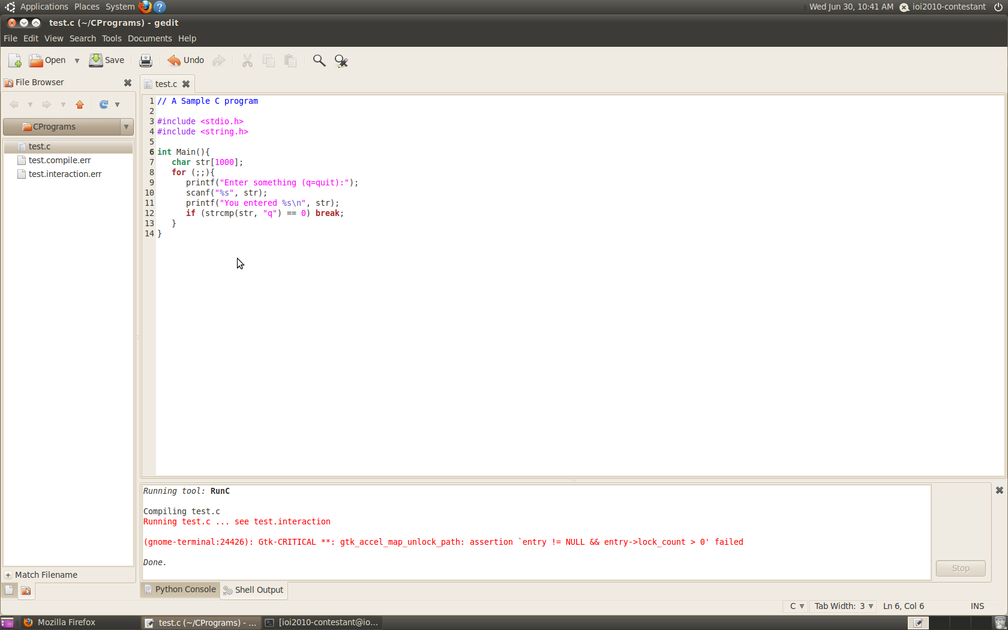
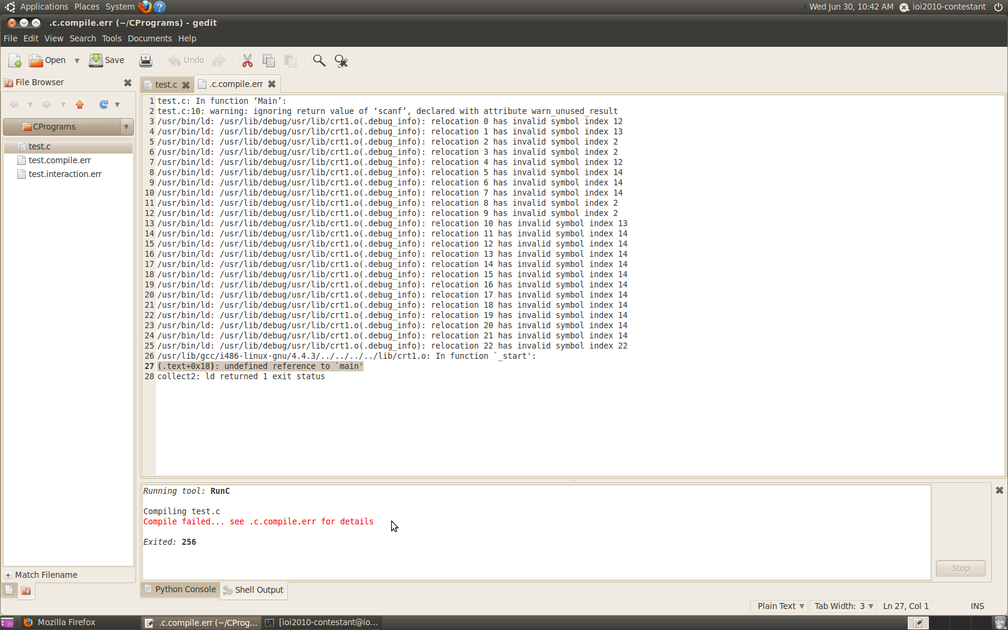
In the screenshot below, we misspell "main" as "Main" which will cause a compile-time error.
Here's what happens: you get a tab with a file containing the compiler messages, and the bottom panel tells you the bad news. As usual, the gcc output is cryptic and verbose: all except the second last line are simply warnings. The important part is "undefined reference to 'main'". When you're done with the compiler messages hit the X on the tab and they'll go away. You can do that for the bottom panel, too.
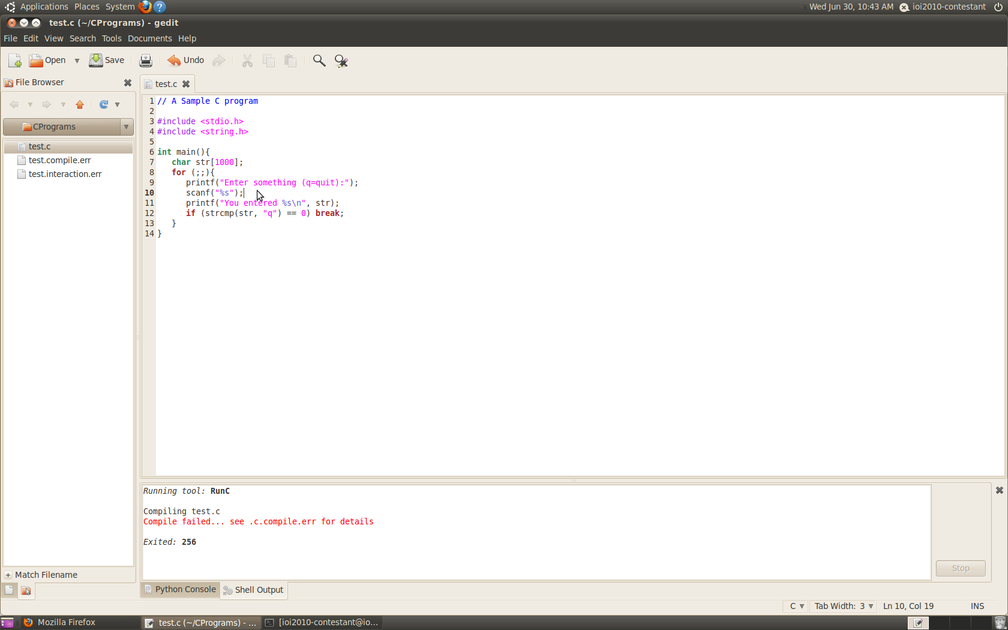
Now let's fix the spelling of "main" and put in an error that will cause the program to crash: we delete "str" from the scanf statement. gcc will happily compile this program, and it'll run, but bad things will happen.
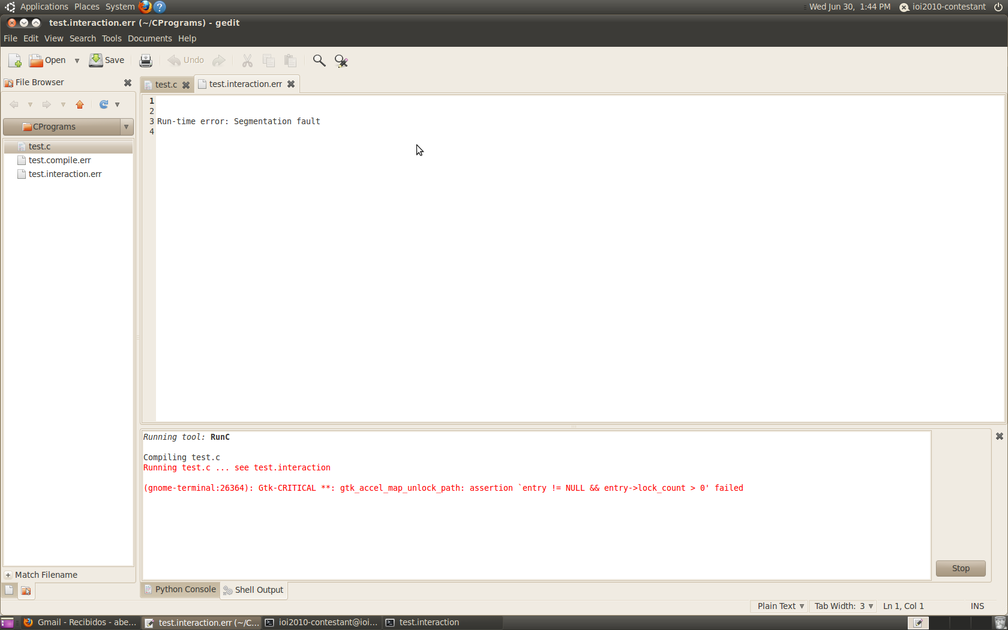
We told you bad things would happen. You can see an error message: the dreaded "segmentation fault".
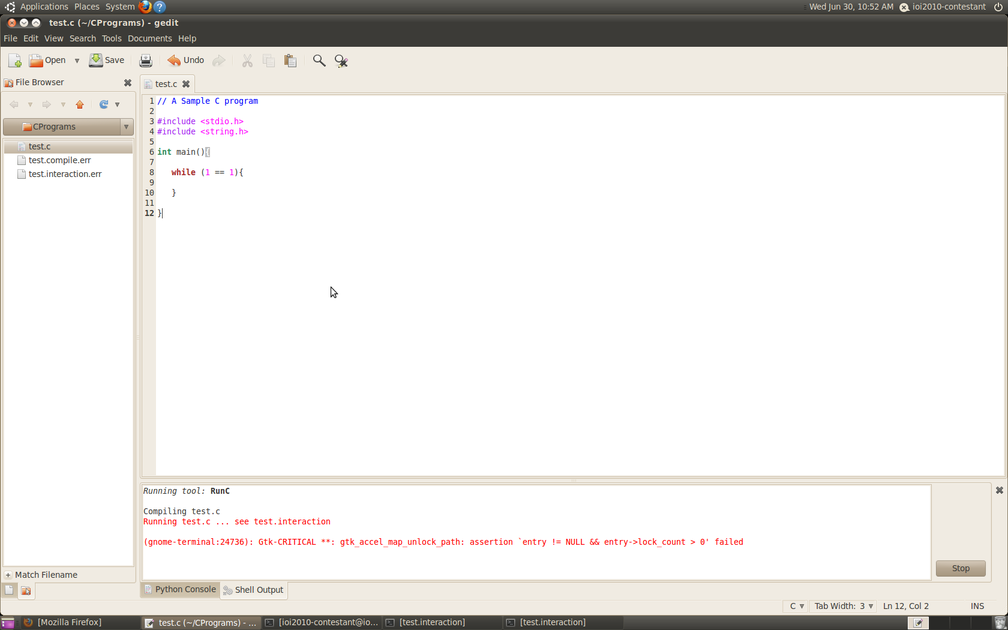
Here's a program with an infinite loop.
And here's what happens when you hit "Control-R". RunC has an internal CPU time limit precisely for this type of situation. Note that RunC's time limit is not necessarily the same as the time limit for the tasks, but will be at least as large.

Part 2: Input Files
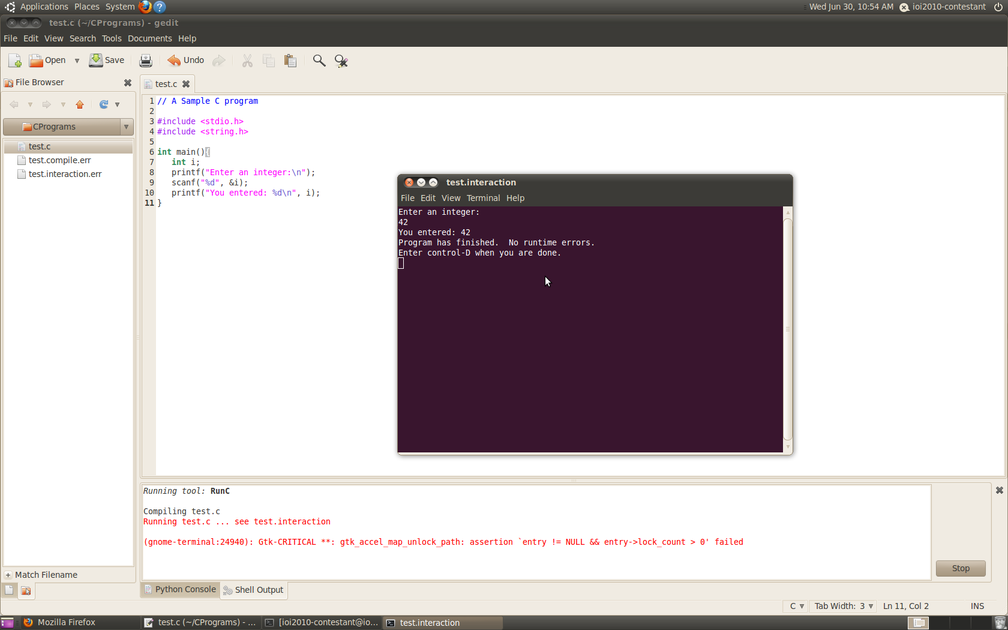
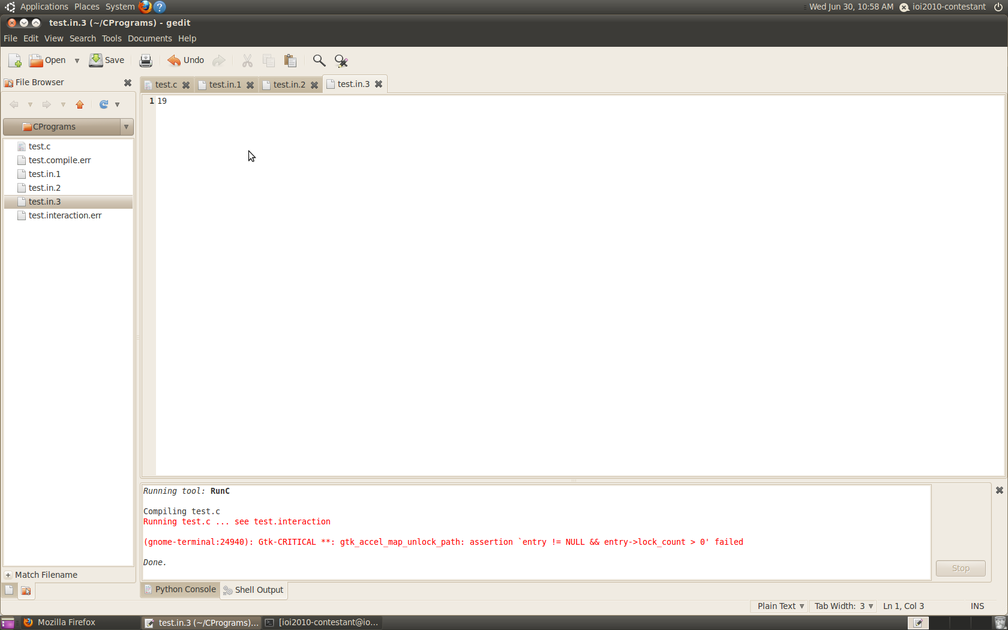
Here's a simple interactive program that reads and prints a single int.
We can run it interactively as normal. But that's not really good for testing.
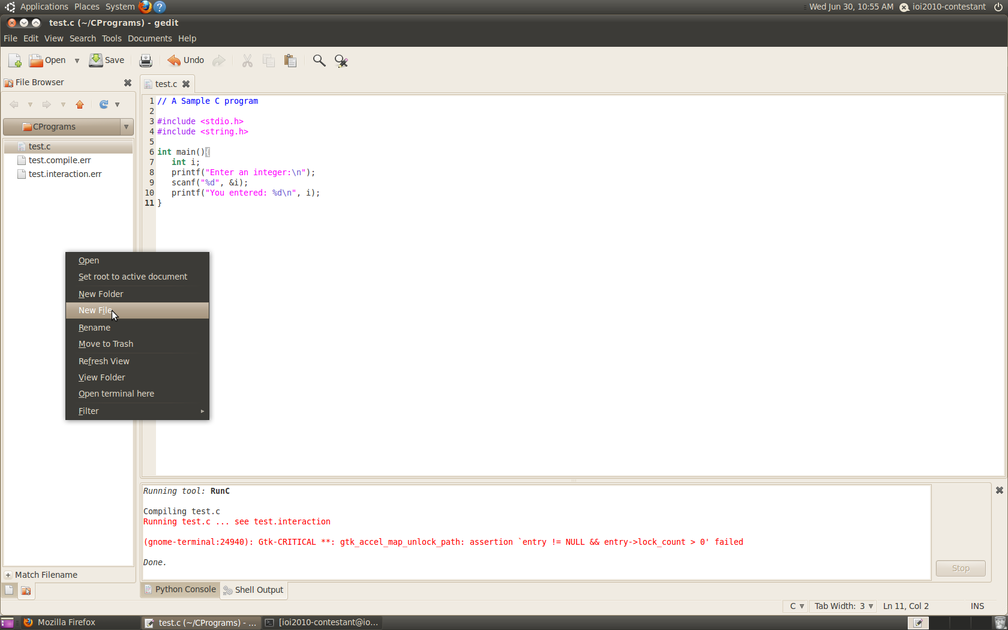
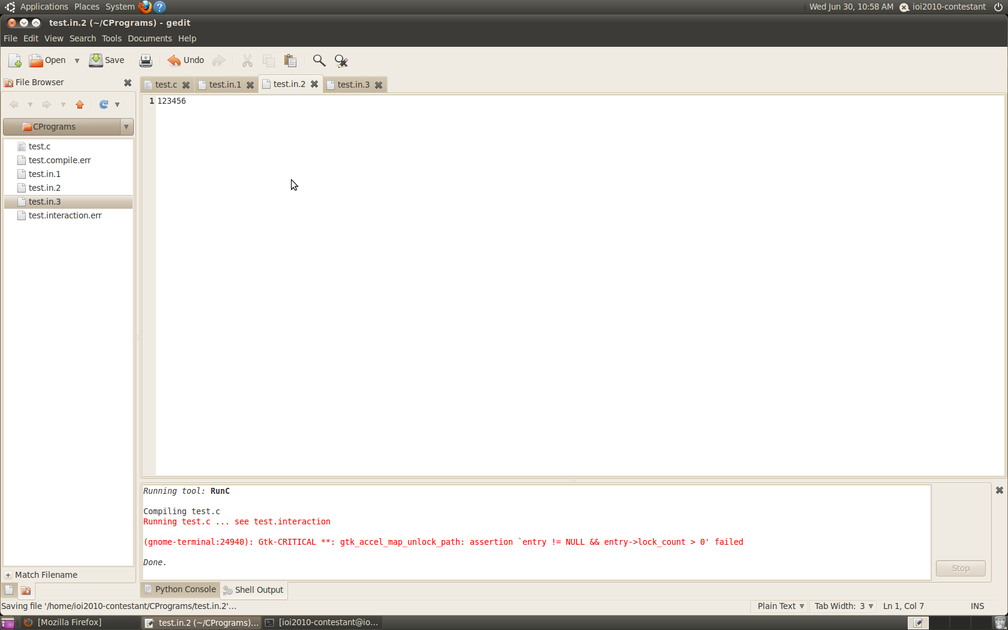
Use the File Browser to create test input files test.in.1, test.in.2, etc. where test is the name of your program, without the .c
Don't forget to save each test input file.
A second input file. And a third (not shown).
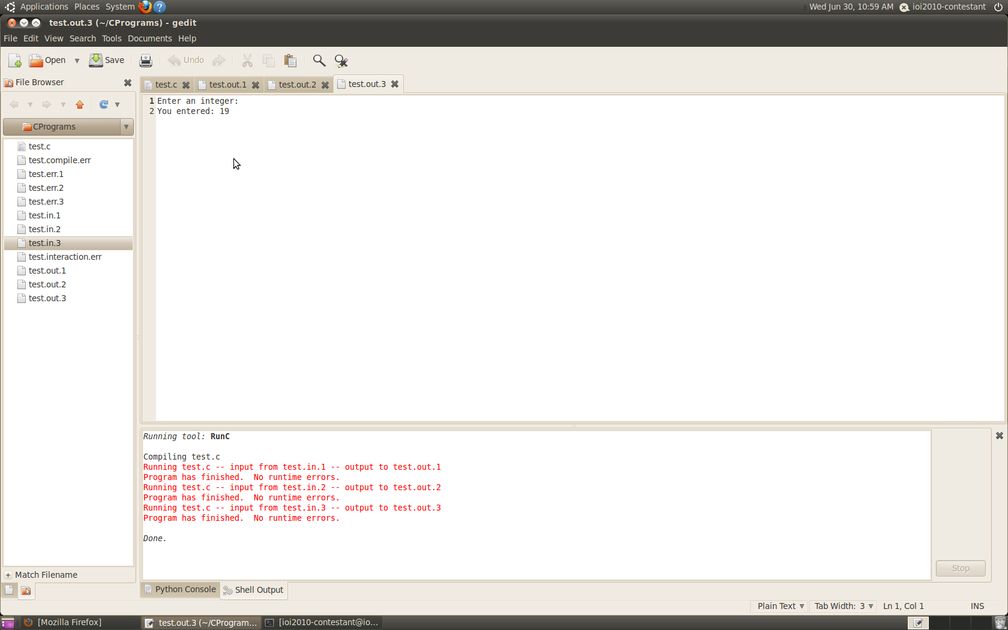
When you hit Control-R it runs your program on every one, and opens an output file tab for each.
Part 3: Expected Output Files
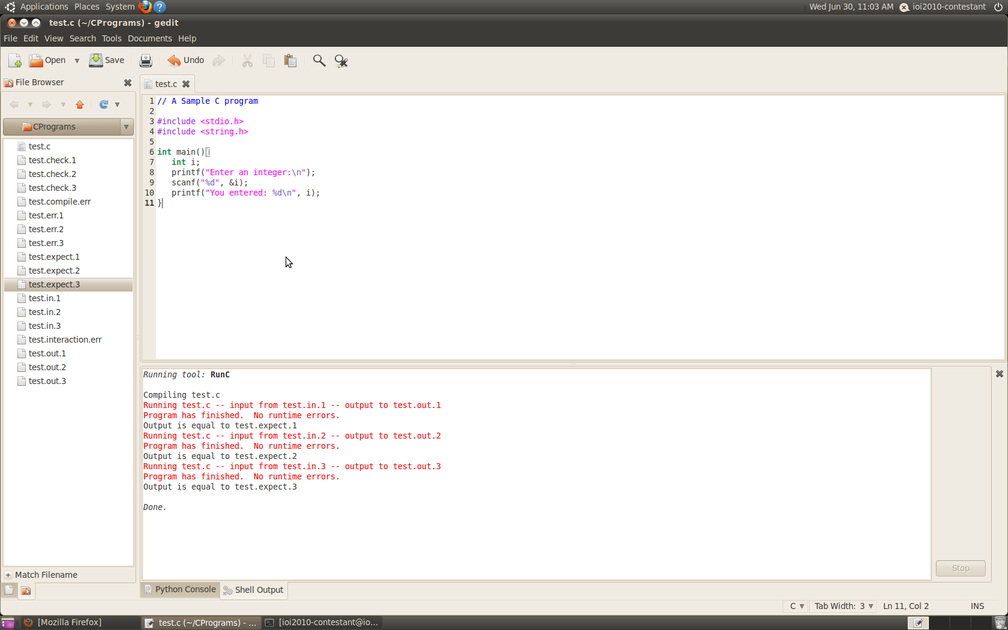
Checking your results by eye is tedious and error prone. Better to create expected output files named test.expect.1, test.expect.2 etc. with exactly the expected output. Now when you run your program, RunC will compare the program output agaist the expected output and tell you whether or not they match. In this case, the output and expected output match, and RunC tells us so!
Now let's make the program "fail" on the second test case.
RunC tells us about the failure and displays a diff "difference" file. RunC does not use any more test input files once it detects an error.

Part 4: Multiple C Source Files
Here's a C program consisting of 3 source files: the main program test.c
and a module square with interface square.h and
implementation square.c. Don't forget to save the files.
Hit Control-R in the main program editor, and the program is compiled and run.


